Stud Mount Flat Cut Metal Letters / Logos / Interior / Exterior Mounting Surface
Threaded studs on metal letters
Tools Required: mounting pattern, level, drill, drill bit, tape measure, cleaning cloth, masking tape, adhesive
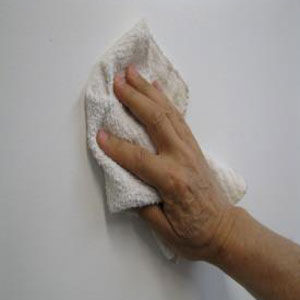
1. Position and Secure Mounting Pattern
Clean mounting surface before installing letters.
Set Pattern: Level and align mounting pattern on mounting surface. Securely tape pattern flat to surface and perform a final spelling and spacing check.
Mark Holes: Use a center punch or a marker to mark through all of the drill holes onto wall.
Remove: Your drilling will be more accurate if you remove the pattern before drilling the holes.
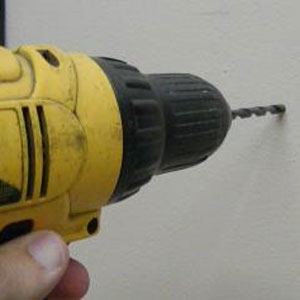
2. Drill Mounting Holes
Drill & Bits: Use a drill & bit to match your mounting surface.
Drill Holes: Hold drill level and drill all marked holes at least 1-1/2″ deep.
Clean Holes: After holes are all drilled, clean (blow) out holes to remove all dust.
TIP: Brick or Block may require using a hammer drill & masonry drill bit.
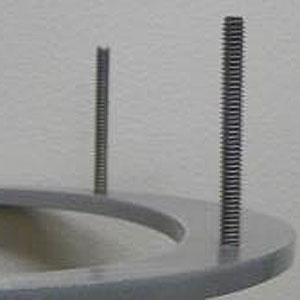
3. Dryfit Letters
Insert Letters: Take letters in order of number marked on the back and press into drilled holes (do NOT apply adhesive yet and do not force studs into holes).
Adjust: If letters do not press easily into holes, open holes (make hole larger with bit) until letters can be set straight.
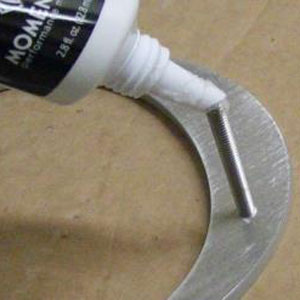
4. Apply Adhesive
Fill Holes: Using a quality adhesive, generously fill all drilled holes.
Studs: Apply a good coating of the same adhesive to the letter studs, installing one letter at a time.
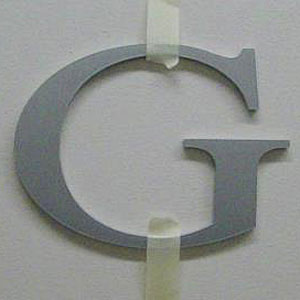
5. Install Letters
Set Letters: Press studs into drilled holes until the letters touch the wall. Hold letter to wall by placing long strips of masking tape (or duct tape if necessary) on the letter face. Install letters in numerical order, working left to right in your copy.
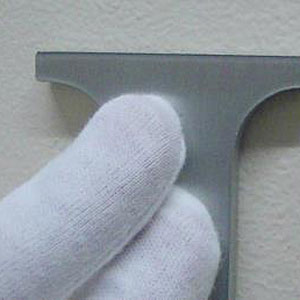
6. Final Adjustment
Adjust & Set: Stand back and view letters at a distance. Hand adjust letters straight by loosening tape and repositioning as needed. Once letters are straight, firmly press tape back onto wall. Secure with more tape if needed. Allow adhesive to set (set time may vary based on climate). When set, remove tape from letters. If studs start pulling out of holes, re-tape until adhesive is set. Clean letter faces as needed.
